Getting a new VPS is exciting — a blank server, full root access, endless possibilities. It is also the moment when most beginners make the mistakes that haunt them later: skipping updates, working as root forever, forgetting backups until the day they need one.
This new VPS setup checklist walks you through everything worth doing on a brand-new VPS, in the right order. Work through it once, and your server will be updated, secured, and ready for whatever you want to build. The examples use Ubuntu (the most beginner-friendly server OS), with notes where other distributions differ.
Table of Contents
Before You Start
Gather these from your provider’s welcome email or control panel:
- The server’s IP address
- The root password (or the SSH key you provided during ordering)
- Which operating system was installed — this guide assumes Ubuntu 22.04 LTS or 24.04 LTS
You will connect from your own computer using a terminal (macOS/Linux) or an SSH client like PuTTY or Windows Terminal on Windows.
The New VPS Setup Checklist
1. Log In for the First Time
Connect as root. From macOS, Linux, or Windows Terminal:
ssh root@your-server-ip
Accept the host key fingerprint when prompted (verify it against the fingerprint shown in your provider’s panel if one is listed). If you set up SSH key authentication during ordering, you will log straight in; otherwise, enter the root password.
2. Update the System
Fresh VPS images are almost never fully patched. Update everything before doing anything else:
apt update && apt upgrade -y
If the kernel was updated, reboot to apply it:
reboot
Then reconnect. (On RHEL-based systems like AlmaLinux, use dnf update -y instead.)
3. Create Your Main User With Sudo Access
Doing everyday work as root is risky — a single typo can destroy the system, and attackers specifically target the root account. Create a personal user:
adduser deploy
usermod -aG sudo deploy
Set a strong password when prompted. From now on, log in as deploy and use sudo for administrative commands.
4. Secure the Root Account
You have two good options:
- Set a strong root password with
passwdand keep it stored in a password manager, or - Lock direct root login once your sudo user works: this is covered in our VPS security guide (disabling
PermitRootLoginin SSH config).
Either way, do not leave the provider’s default or emailed root password in place any longer than necessary.
5. Set the Hostname
Give your server a proper name — it shows up in prompts, emails, and logs:
hostnamectl set-hostname myserver
Replace myserver with something meaningful like web-prod-01. Verify with hostnamectl.
6. Set the Time Zone
Correct time matters for logs, scheduled tasks, and SSL certificates. Set it to UTC (the server standard) or your local zone:
timedatectl set-timezone UTC
List available zones with timedatectl list-timezones and confirm with timedatectl.
7. Configure the Firewall
Ubuntu includes UFW, a simple firewall frontend. The golden rule: allow SSH before enabling the firewall, or you will lock yourself out:
ufw allow OpenSSH
ufw enable
ufw status
Then open only what you need. For a web server, add HTTP and HTTPS:
ufw allow 80,443/tcp
Run ufw status at the end and confirm the rules look right.

8. Set Up SSH Key Authentication
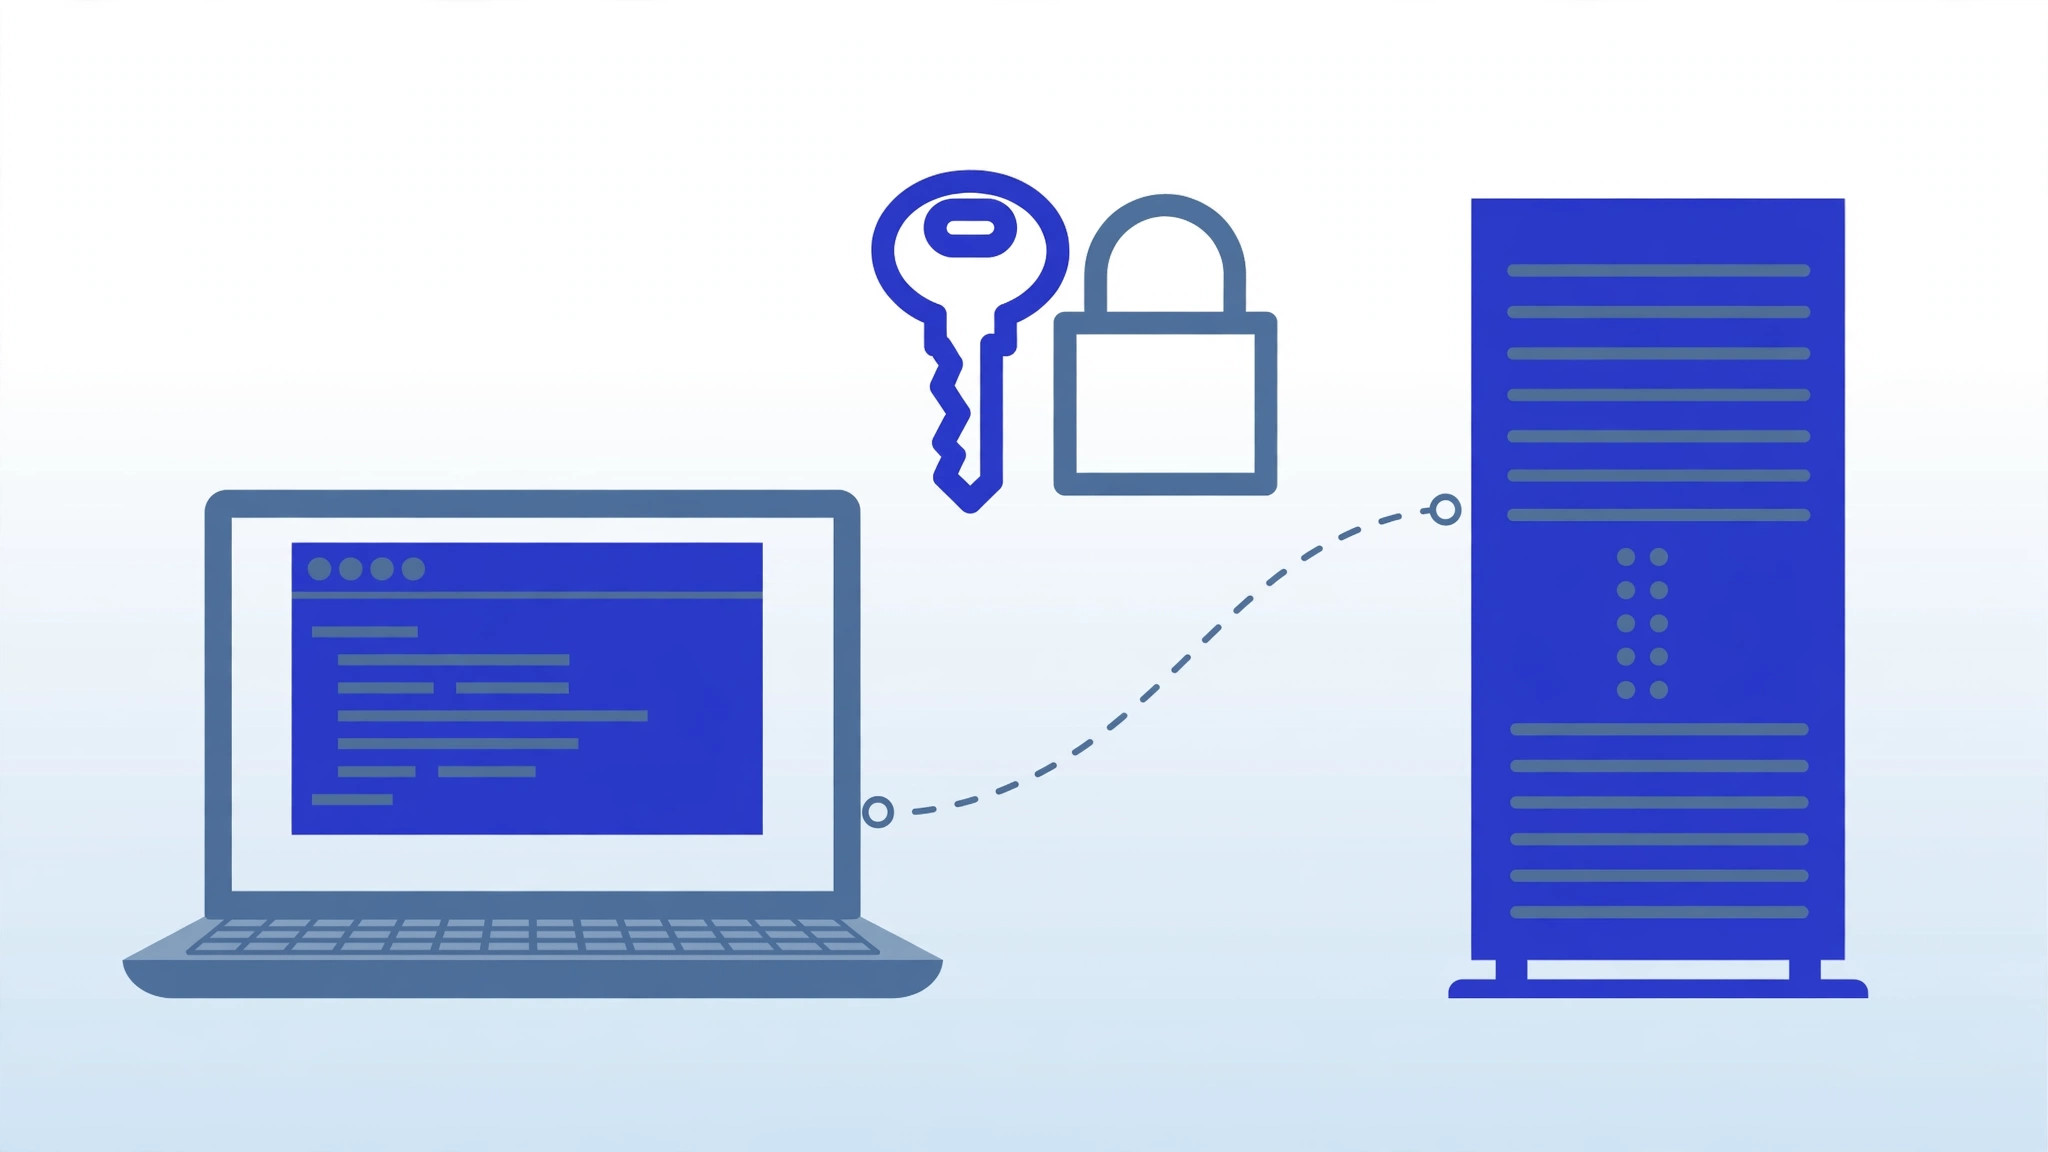
Passwords can be guessed; SSH keys effectively cannot. On your own computer, generate a key pair:
ssh-keygen -t ed25519 -C "your-email@example.com"
Copy the public key to the server:
ssh-copy-id deploy@your-server-ip
Test logging in with the key in a new terminal window before closing your current session. Once keys work, disable password authentication and root login in /etc/ssh/sshd_config (PasswordAuthentication no, PermitRootLogin no), then systemctl restart ssh. Our full VPS security guide walks through this in detail.
9. Add Swap Space (Low-RAM Servers)
If your VPS has 2 GB of RAM or less, a small swap file prevents out-of-memory crashes during updates or traffic spikes:
fallocate -l 2G /swapfile
chmod 600 /swapfile
mkswap /swapfile
swapon /swapfile
Make it permanent by adding this line to /etc/fstab:
/swapfile none swap sw 0 0
Swap is slower than RAM — it is a safety net, not a substitute for enough memory.
10. Install Essential Tools
Install the utilities you will reach for constantly:
apt install -y curl wget git htop nano ufw fail2ban
curl/wget— downloading filesgit— version control and deploying codehtop— readable system monitorfail2ban— automatically bans IPs with repeated failed logins (enable it withsystemctl enable --now fail2ban)
11. Set Up Backups Before You Need Them
Do this now, while the server is clean — not after your first crisis:
- Enable provider snapshots on a schedule (daily or weekly, depending on how often your data changes).
- Keep an off-site copy of anything irreplaceable — a database dump or project files on separate storage.
- Test a restore at least once. A backup you have never restored is a hope, not a plan.
12. Install Your Application Stack
Now install whatever the server is actually for. Common starting points:
- Static site or blog: Nginx+ a static site generator, or a LEMP stack for WordPress (
nginx,mysql-server,php-fpm). - Web app: your language runtime (Node.js, Python, PHP) plus a process manager and reverse proxy.
- Docker host: install Docker Engine and manage everything in containers.
Install only what you need. Every extra service is extra attack surface and extra maintenance.
13. Enable Monitoring and Alerts
At minimum, turn on your provider’s free monitoring alerts for downtime, high CPU, and full disks. For deeper insight later, tools like Netdata or Prometheus + Grafana are popular next steps — but provider alerts are enough on day one.
14. Reboot and Verify Everything Works
The final test: reboot the server and confirm everything comes back correctly.
reboot
Wait a minute, reconnect, and check:
- Can you log in with your SSH key?
- Is the firewall active with the right rules (
ufw status)? - Are your services running (
systemctl status nginx, etc.)? - Is Fail2Ban running?
If everything survives a reboot, your setup is solid.
What Comes Next
With the checklist complete, your server is updated, hardened at a basic level, backed up, and running your software. Natural next steps as you grow:
- Harden further: work through our 12-step VPS security guide for deeper protection.
- Add a domain: point DNS at your server IP and install a free Let’s Encrypt SSL certificate.
- Automate: if you ever need a second server, consider scripting this checklist so setup takes minutes instead of an hour.
Conclusion
Initial server setup is not glamorous, but it is the foundation everything else rests on. Update first, create a non-root user, lock down SSH with keys, enable the firewall, add backups before you need them, and verify it all survives a reboot. Fourteen steps, about an hour of work, and your VPS goes from a blank vulnerable machine to a properly prepared server. Future you — the one who never gets locked out, hacked, or caught without a backup — says thanks.
Frequently Asked Questions
Which Linux distribution should I choose for a new VPS?
Ubuntu LTS (long-term support) is the safest choice for beginners: huge community, abundant tutorials, and five years of security updates. Debian is similarly solid. Choose RHEL-family systems (AlmaLinux, Rocky Linux) if you specifically need that ecosystem.
How much RAM does a new VPS need?
For a small website or learning server, 1–2 GB is enough to start. Databases, control panels, and Docker workloads are happier with 4 GB or more. Start small — you can resize most VPS plans later — but do not run production databases on the smallest plan available.
Should I install a control panel like cPanel?
Control panels make management easier but consume significant RAM, cost money (cPanel charges licensing fees), and add their own security considerations. If you are comfortable with the command line, skip the panel. If not, a free panel like HestiaCP or CloudPanel is a reasonable middle ground.
How often should I update my VPS after setup?
Security updates: enable automatic installation (unattended-upgrades on Ubuntu) so critical patches apply themselves. Full upgrades: run apt update && apt upgrade manually every few weeks, and check for a new LTS release every two years.