Learning how to use Remote Desktop Connection RDP — the little app behind the mstsc command — is one of the most useful tools built into Windows, and most people only scratch the surface of what it can do. Beyond simply typing in a computer name and clicking Connect, it lets you tune display settings, share printers and drives between machines, save connection profiles, and transfer files back and forth. This full guide covers everything from your first connection to the power-user options hidden in its tabs, so you can use Remote Desktop Connection on Windows like a pro.
Table of Contents
What Is Remote Desktop Connection?
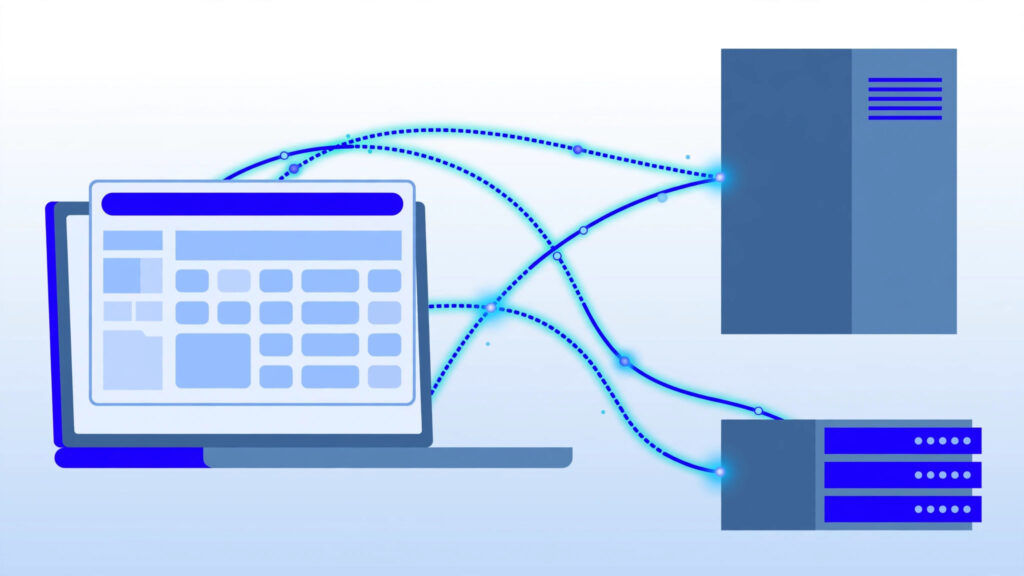
Remote Desktop Connection (often called by its executable name, mstsc) is the built-in Windows client for the Remote Desktop Protocol (RDP). It connects you to another Windows computer — a home PC, an office workstation, or a rented Windows VPS — and shows you that machine’s desktop in a window (or full screen) on your own device. Your keyboard and mouse control the remote machine as if you were sitting in front of it.
Every modern edition of Windows includes the client, including Windows Home. (Only the host — the computer receiving the connection — needs Windows Pro or higher.) To set it up, see our guide to enabling Remote Desktop on Windows 10/11.
Your First Connection: The Basics
Step 1: Open Remote Desktop Connection
Use any of these methods:
- Press Win + R, type
mstsc, and press Enter. - Open the Start menu and search for Remote Desktop Connection.
- Press Win + S and type “remote desktop”.
Step 2: Enter the Computer Name or IP Address
In the Computer field, type the name or IP address of the machine you want to reach. On a home network this might be something like DESKTOP-AB12CD or 192.168.1.25. For a rented Windows VPS, your provider gives you the IP address in its control panel or welcome email.
Step 3: Sign In
Click Connect. When prompted, enter the username and password of an account on the remote machine that is allowed to connect. For local accounts, the format .\username (dot-backslash-username) explicitly means “a local account on that computer.” Check Remember me only on a private device you trust.
Step 4: Handle the Certificate Prompt
On first connection you will usually see a warning that the remote computer’s identity cannot be verified. On your own home network or a VPS you just set up, this is expected (the certificate is self-signed) — click Yes to continue. If you see this warning unexpectedly on a network you do not trust, stop and verify you are connecting to the right machine.
Mastering the Options Tabs
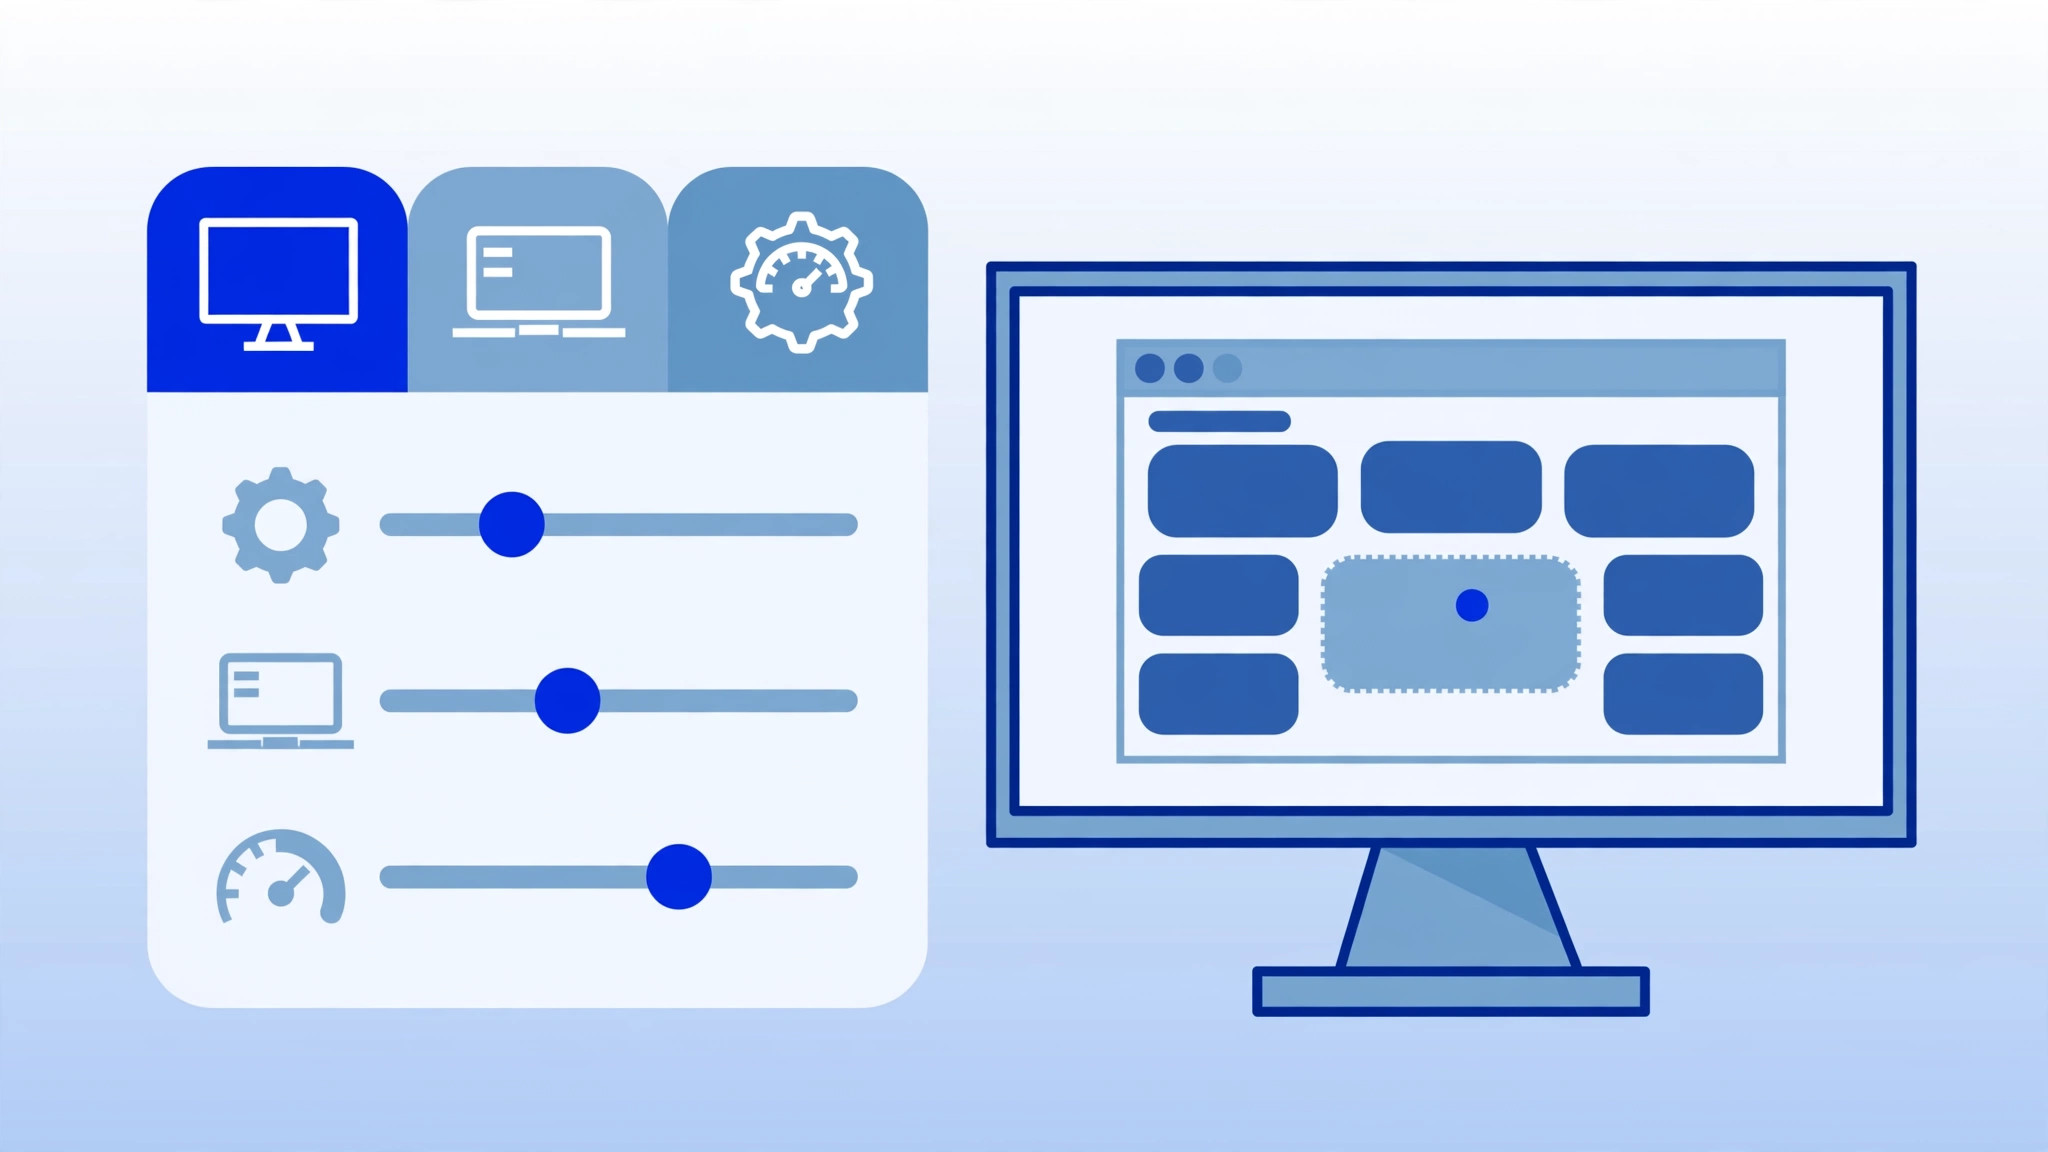
Click Show Options at the bottom of the connection window to reveal five tabs of settings. These are what separate casual users from confident ones.
General Tab: Save Your Connections
- The Computer and User name fields we already covered.
- Save / Save As stores all your settings — including the options below — into a
.rdpfile. Double-clicking that file later connects instantly with your preferred setup. Create one.rdpfile per machine you regularly access. - Open loads a previously saved
.rdpfile.
Display Tab: Control Size and Quality
- Display configuration slider: choose anything from a small window to full screen. Full screen gives the most immersive experience; a windowed session is easier when multitasking.
- Colors: dropping from 32-bit to 16-bit or 15-bit color reduces bandwidth on slow connections with barely noticeable visual difference for office work.
- Display the connection bar when I use the full screen on all my monitors: useful for multi-monitor setups.
Local Resources Tab: Share Devices Between Computers
This tab is the hidden gem. It controls which of your devices the remote computer can use:
- Remote audio: choose whether sounds from the remote PC play on your device or stay remote.
- Keyboard: decide whether Windows key combinations (like Win + E) apply to your local PC or the remote session.
- Local devices and resources > More: expand this to share printers, the clipboard, and — most usefully — your local drives. When you share a drive, it appears inside the remote session as a redirected drive, making file transfer as simple as copy and paste.
Experience Tab: Tune for Your Connection Speed
The dropdown (from modem to LAN) enables or disables visual effects like desktop background, font smoothing, and window animations. On a fast local network, choose LAN for full visuals. Over the internet or a slow link, pick a lower setting — disabling the desktop background and visual styles alone makes sessions dramatically snappier.
Advanced Tab: Gateways and Troubleshooting
- Connect from anywhere: configure an RD Gateway server if your organization routes RDP over HTTPS.
- If a connection misbehaves, the settings here are worth reviewing — stale gateway entries are a classic cause of mysterious failures.
Transferring Files Between Computers
You have three practical options:
- Shared drives (recommended): in Show Options > Local Resources > More, check your local drive. It appears in the remote session’s File Explorer under redirected drives — drag and drop works both ways.
- Clipboard: text and small files copy-paste directly between local and remote in most configurations.
- Network shares or cloud storage: for large transfers, a shared folder or cloud drive synced on both machines is often faster.
Disconnecting vs. Signing Out
This distinction matters, especially on a VPS you pay for:
- Closing the window (or clicking X on the connection bar) disconnects the session. Your programs keep running on the remote machine, and reconnecting resumes exactly where you left off.
- Signing out (Start menu > user icon > Sign out inside the remote session) ends the session and closes all your programs.
- Locking (Ctrl + Alt + End > Lock) secures the session without ending it.
On a rented server, disconnect rather than sign out if you have long-running tasks — but remember that disconnected sessions still consume the server’s memory.
Essential Keyboard Shortcuts Inside a Session
Your normal shortcuts behave differently when a remote session has focus. The most important one:
- Ctrl + Alt + End — the RDP equivalent of Ctrl + Alt + Del (opens the security screen on the remote machine).
- Alt + Page Up / Alt + Page Down — switches between programs on the remote machine (like Alt + Tab).
- Ctrl + Alt + Break — toggles the session between full-screen and windowed mode.
- Ctrl + Alt + Minus (–) — takes a screenshot of the active remote window to your local clipboard.
Connecting From a Mac, Phone, or Tablet
You are not limited to Windows devices. Microsoft’s free Windows App (previously called Microsoft Remote Desktop), available for macOS, iOS, and Android, connects to the same hosts with the same credentials. Add a PC by tapping the + icon, enter the computer name or IP, save, and tap to connect. The touch interface includes a clever on-screen keyboard with Windows-specific keys.
Troubleshooting Quick Reference
- Can’t find the computer? Try the IP address instead of the name.
- Credentials rejected? Use
.\usernameformat and confirm the account has a password. - Black screen? Disable persistent bitmap caching under the Experience tab.
- Slow session? Lower color depth and disable the desktop background.
- For the full diagnostic walkthrough, see our guide to common RDP connection problems.
Conclusion
Remote Desktop Connection is far more than a “type an IP and hope” tool. Once you know the options tabs — saved .rdp profiles, shared drives and printers, experience tuning, and the right way to disconnect — it becomes a genuinely pleasant way to work on remote machines, whether that is the PC in the next room or a Windows VPS on the other side of the world. Save this guide, set up your first .rdp profile, and you will never fumble through the defaults again.
Frequently Asked Questions
Is Remote Desktop Connection free?
Yes. The client (mstsc) is built into every edition of Windows at no extra cost. You only pay for the remote machine itself — for example, if you rent a Windows VPS from a hosting provider.
What is the difference between Remote Desktop Connection and Remote Desktop (the Settings toggle)?
The Settings toggle enables a PC to receive connections (the host side, requiring Windows Pro or higher). Remote Desktop Connection (mstsc) is the client app you use to connect to such a PC — and it works on every Windows edition, including Home.
Can I use Remote Desktop Connection on Windows 11 Home?
Yes, as the client. Windows 11 Home can connect to other computers; it just cannot receive incoming Remote Desktop connections. For hosting, you need Pro, Enterprise, or Education.
How do I make Remote Desktop full screen?
In Show Options > Display, drag the display configuration slider all the way to Large (Full Screen) before connecting — or press Ctrl + Alt + Break during an active session to toggle full-screen mode.