
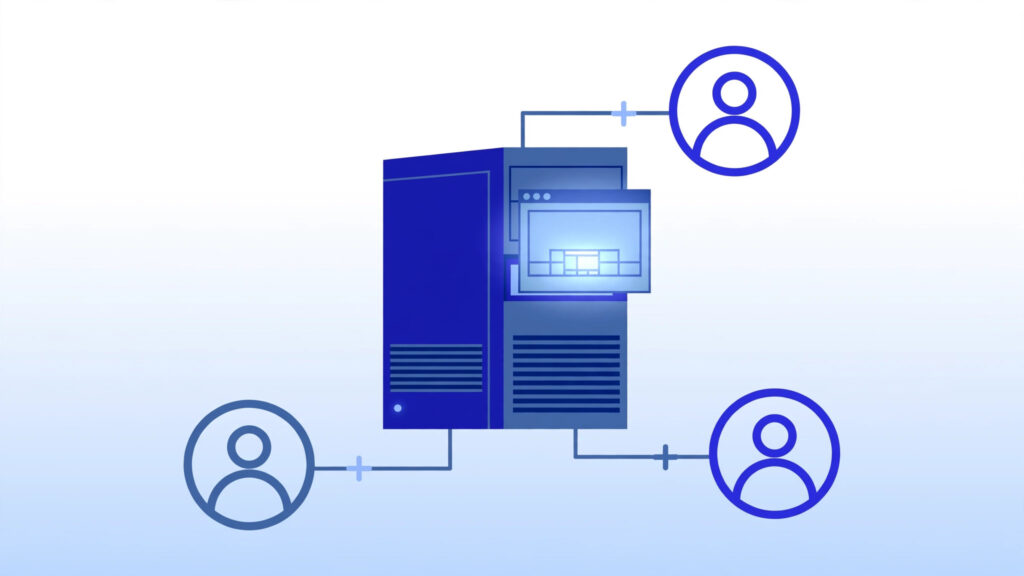
Running everything on a Windows Server with a single Administrator account is convenient — until you need to give a colleague access, a developer needs to deploy code, or you want to limit what an application account can do. Creating additional user accounts is the right way to share a server safely. This guide
shows you how to create additional RDP user accounts on Windows Server, grant them Remote Desktop access, and manage their permissions the secure way.
Table of Contents
Why Create Additional Users?
Separate user accounts give you three big advantages over sharing one Administrator login:
- Accountability. When everyone logs in with their own account, the server’s event logs show exactly who did what and when.
- Least privilege. You can give each person only the permissions they actually need, instead of handing everyone full administrator power.
- Easy offboarding. When someone leaves the team, you disable or delete their account in seconds — no need to change a shared password everywhere.
Prerequisites
- Administrative access to the Windows Server (you need admin rights to create users)
- A connection to the server via RDP or your provider’s console
- A plan for what each new user should be allowed to do — this decides which groups they join
Method 1: How to Create Additional RDP User with Computer Management (GUI)
This is the most visual method and works on all modern Windows Server versions.
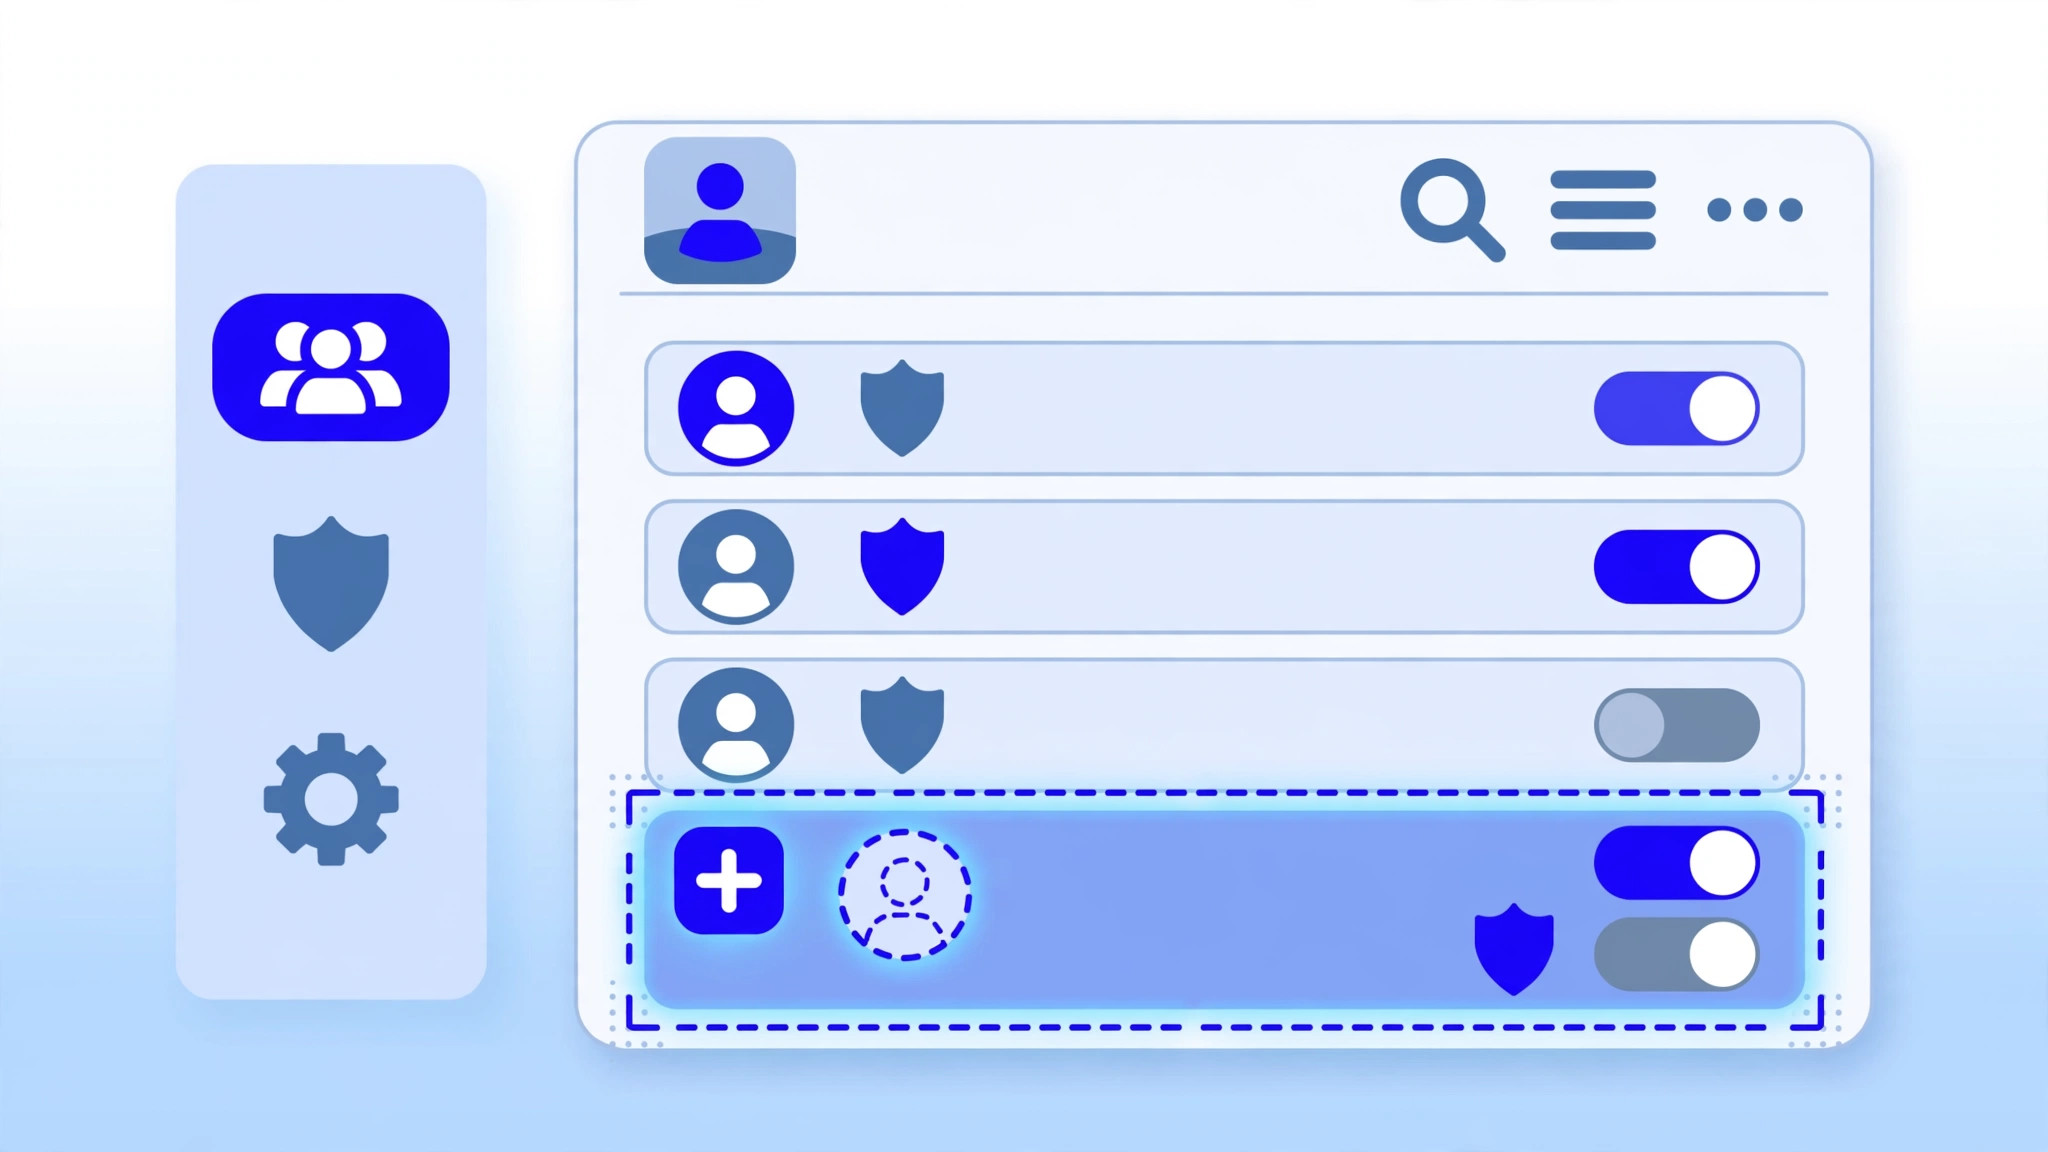
- Press Win + R, type
lusrmgr.msc, and press Enter. This opens the Local Users and Groups console directly. - In the left pane, click the Users folder.
- Right-click in the empty area of the middle pane and select New User.
- Fill in the fields:
- User name: the login name (for example,
jdoe). Keep it short and without spaces. - Full name: the person’s real name (optional but helpful).
- Description: what this account is for, e.g. “Web developer — site deployments” (highly recommended for future-you).
- Password and Confirm password: set a strong initial password.
- Review the four checkboxes at the bottom:
- User must change password at next logon: check this when creating accounts for other people, so they set their own password on first login.
- User cannot change password: leave unchecked for human users.
- Password never expires: useful for service accounts, risky for human accounts.
- Account is disabled: useful as a template or for temporarily suspending access.
- Click Create, then Close.
The account now exists, but it cannot do much yet — including logging in over RDP. That requires the next step.
Granting RDP Access: The Remote Desktop Users Group
By default, only Administrators can connect to a Windows Server over Remote Desktop. To let a standard user connect via RDP, add them to the Remote Desktop Users group. Microsoft’s documentation on allowing Remote Desktop connections explains this group-based approach in more detail:
- In the same Local Users and Groups console, click the Groups folder in the left pane.
- Double-click Remote Desktop Users in the middle pane.
- Click Add, then Advanced, then Find Now to list all users — or simply type the username directly.
- Select the new user, click OK, then OK again, then Apply.
The user can now log in to the server through Remote Desktop with their own credentials. They will have standard user permissions — enough to work, but not enough to change system settings or install software server-wide.
If the user genuinely needs full control (for example, a co-administrator), add them to the Administrators group instead, using the same steps. Be conservative with this: every administrator account is a high-value target for attackers. If you are unsure whether RDP is safe to expose, review the risks before granting that level of access.
Method 2: Create a User with PowerShell
For repeatable setups or managing several accounts at once, PowerShell is faster. Open PowerShell as an administrator and run:

- Create a secure password object (you will be prompted to type it):
$Password = Read-Host -AsSecureString "Enter password for new user"
- Create the user account:
New-LocalUser -Name "jdoe" `
    -FullName "John Doe" `
    -Description "Web developer - site deployments" `
    -Password $Password `
    -PasswordNeverExpires:$false
- Add the user to the Remote Desktop Users group:
Add-LocalGroupMember -Group "Remote Desktop Users" -Member "jdoe"
- Verify the user was added correctly:
Get-LocalGroupMember -Group "Remote Desktop Users"
You should see jdoe in the list. To grant administrator rights instead, replace "Remote Desktop Users" with "Administrators" in step 3 — but think twice before doing so.
Managing Existing User Accounts
Creating accounts is only the beginning. Here is how to handle the everyday tasks, including how to change a Windows RDP password when a user forgets theirs:
- Disable an account temporarily: Right-click the user in Local Users and Groups, choose Properties, and check Account is disabled. The person cannot log in, but the account and its settings are preserved. Uncheck to re-enable.
- Force a password change: In the user’s properties, check User must change password at next logon.
- Rename an account: Right-click the user and choose Rename. Note that renaming does not change the underlying security identifier (SID), so permissions follow the account.
- Delete an account: Right-click and choose Delete. This is permanent for the profile’s association — the user’s personal files under
C:\Users\usernameremain on disk until you remove them manually, so clean up afterwards.
Security Best Practices for Server User Accounts
- Follow least privilege. Start every new user as a standard user in Remote Desktop Users. Only promote to Administrators when there is a clear, documented reason.
- Give service accounts their own logins. If an application or backup tool needs credentials, create a dedicated account for it with a long random password — never reuse a human’s account.
- Disable, don’t just forget. When someone leaves, disable their account the same day. Delete it after you are sure nothing depends on it.
- Review accounts regularly. Once every few months, open the Users list and ask: does every account here still need to exist? Remove or disable anything stale.
- Use strong passwords and lockout policies. Enforce password complexity through Local Security Policy (
secpol.msc→ Account Policies → Password Policy) and enable account lockout to slow down brute-force attacks against RDP.
Conclusion
Creating additional users on Windows Server takes less than five minutes per account, and it is one of the highest-value security habits you can adopt. Remember the two-step pattern: create the user first, then add them to the Remote Desktop Users group to enable RDP access. Keep administrator rights rare, document what each account is for, and review the user list regularly. Your future self — and your security logs — will thank you.
Frequently Asked Questions
I created a user but they get “The connection was denied” when using RDP. Why?
The most common cause is that the user is not a member of the Remote Desktop Users group (or Administrators). Add them to the group as described above and try again. Also check that RRemote Desktop is enabled on the server and that no firewall rule is blocking port 3389.
Can two users be logged into the server at the same time?
On Windows Server editions, yes — the server operating system supports two simultaneous remote administrative sessions plus the console session by default. If you need more concurrent users, you need the Remote Desktop Services role with the appropriate client access licenses.
Should service accounts be in the Remote Desktop Users group?
Generally no. Service accounts exist for applications, not for interactive logins. Keep them out of remote-access groups, give them only the specific permissions the application needs, and set long, random, non-expiring passwords stored in a password manager.
What is the difference between disabling and deleting a user account?
Disabling blocks logins immediately but keeps the account, its group memberships, and its SID intact — perfect for temporary suspensions. Deleting removes the account permanently; if you recreate a user with the same name later, it gets a new SID and none of the old permissions carry over.